To be able to live on your own is such a great achievement in the world of adulting. You get to do things on your own, make your own rules, and practice the independence you’ve been longing for so long.
But independence doesn’t necessarily equate to complete freedom, especially when you’re renting a condominium unit or apartment. Condo owners set rules and regulations like alterations, guest limitations, among others.
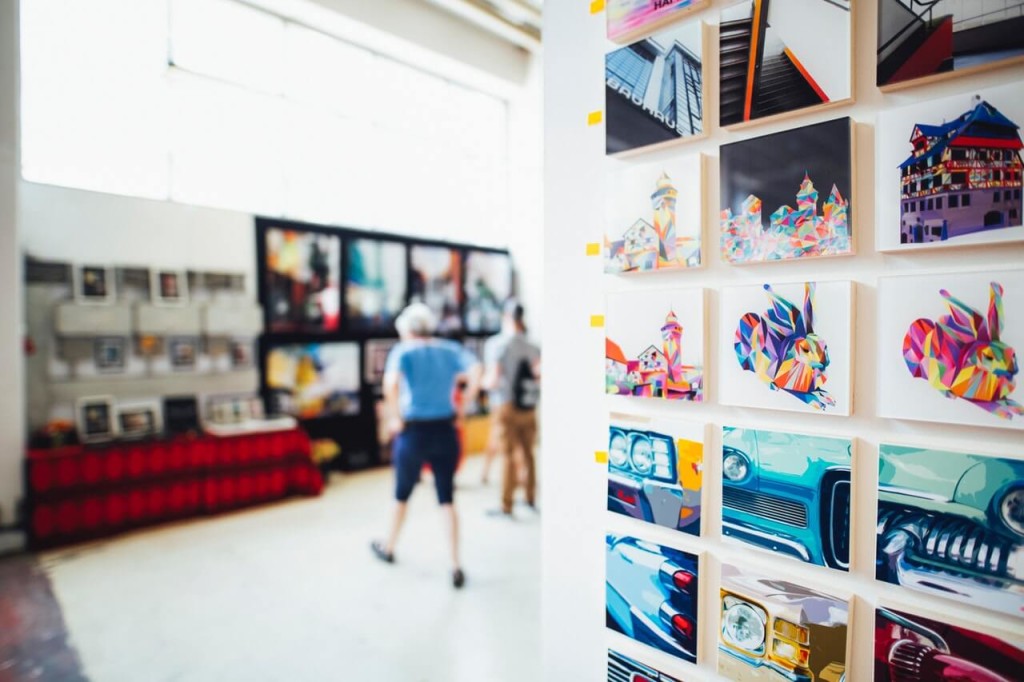 Photo by Markus Spiske on Pexels
Some of them are particularly strict when it comes to interior design. Technically, you’re not allowed to customize the room, especially if you’ll be making slight damages in the structure, like drilling holes in the wall to hang a picture frame.
If you’re the type who likes to hang photo frames, renting an apartment with such limitations must be such a struggle. But don’t fret, here is a landlord-friendly hack you can use! You can now hang your picture frame without having to nail it on the wall.
Don’t let the rules and regulations of condo living limit your creativity and imagination. If you want your own photo wall, let’s make it happen! Here’s how you can do it:
1. Pick your photos
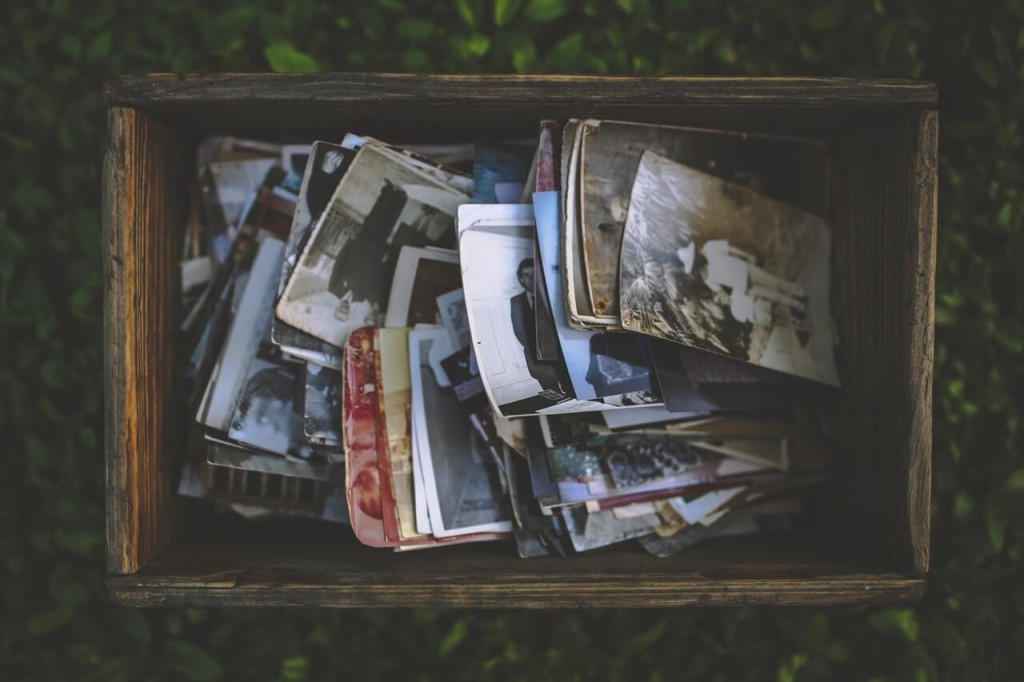 Photo by Kaboompics.com on Pexels
Space in a rented apartment is limited, especially when you’re sharing it with someone. So, your creative space would be limited as well. It’s going to be very hard for you, but you would need to pick the photos you want on your photo wall the most. Don’t rush yourself into choosing: creativity takes time.
As soon as you’re done choosing, you can have them printed. It’s entirely your decision on how big or small the photos would be. But remember to consider the space you’re planning to use as your photo wall.
If you’re having a hard time picking just a few photos, consider the following options:
- Print the photos in smaller sizes to maximize space
- Consider creating a “schedule” for your photo wall so you can see all the photos you want.
2. Pick a lightweight picture frame
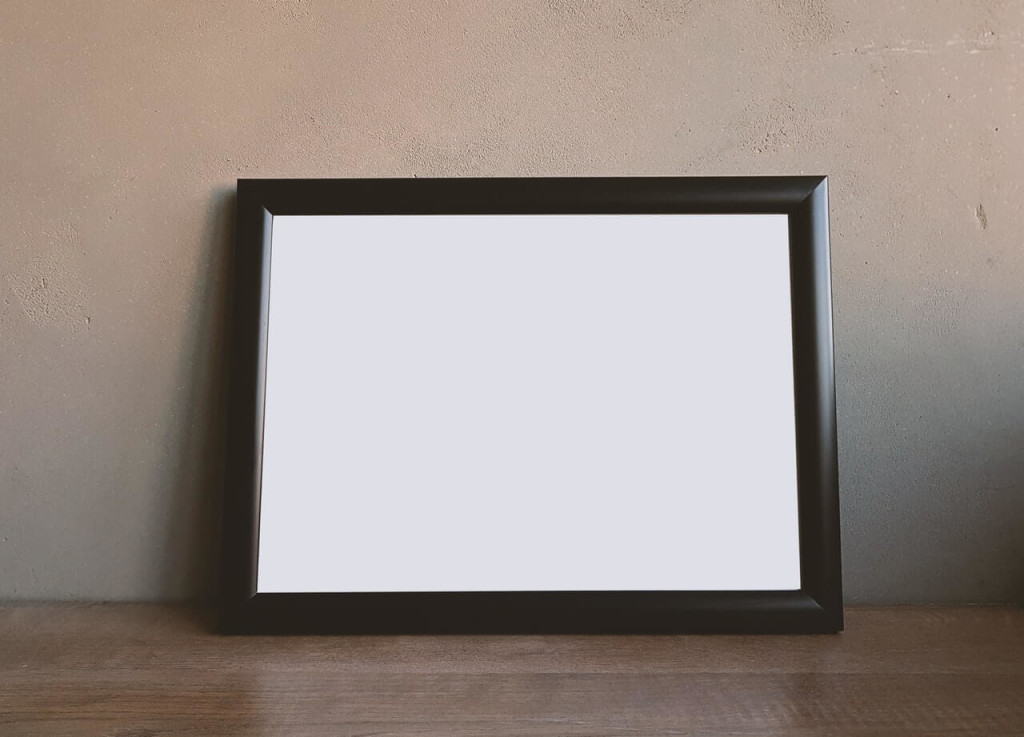 Photo by Burak K on Pexels
Not having to hang photo frames with nails has a higher chance of them falling from the wall. We don’t want that to happen. A good preventive measure here is to pick lightweight frames for your photo wall. There are many photo frames you can choose from department stores and online.
While we’re in a discussion, choose a photo frame that fits the current aesthetic of your room or space. That way, the space gives off an easy flow and feeling.
3. It’s framing time
Depending on your taste and style, you can buy different sizes of frames, or you can stick to just one size to satisfy your eye for organization. It’s really up to you.
Now that you have your materials ready, it’s time to place your photos inside the frame! You don’t really need to follow the 1:1 ratio, you can add as many photos you want in a single photo frame as long as it fits your aesthetic and it won’t look too crowded.
4. Draw your wall layout
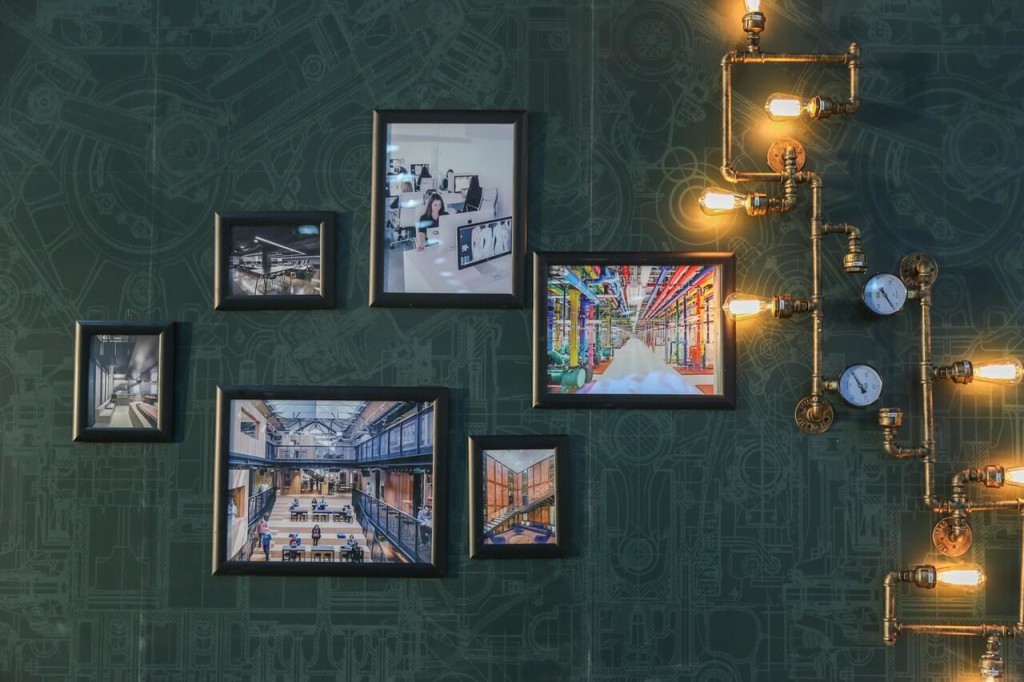 Photo by 隔壁光头老王 WangMing'Photo of Pexels
Now that your photos are framed, it’s time to picture how it should look like on your wall. Go grab some old newspapers and cut them out according to the size of your frames. From here, you can do a “test run” on your unit wall and tape the newspaper there for you to get a visual of how your wall would look like.
5. Time to “hang” them on the wall
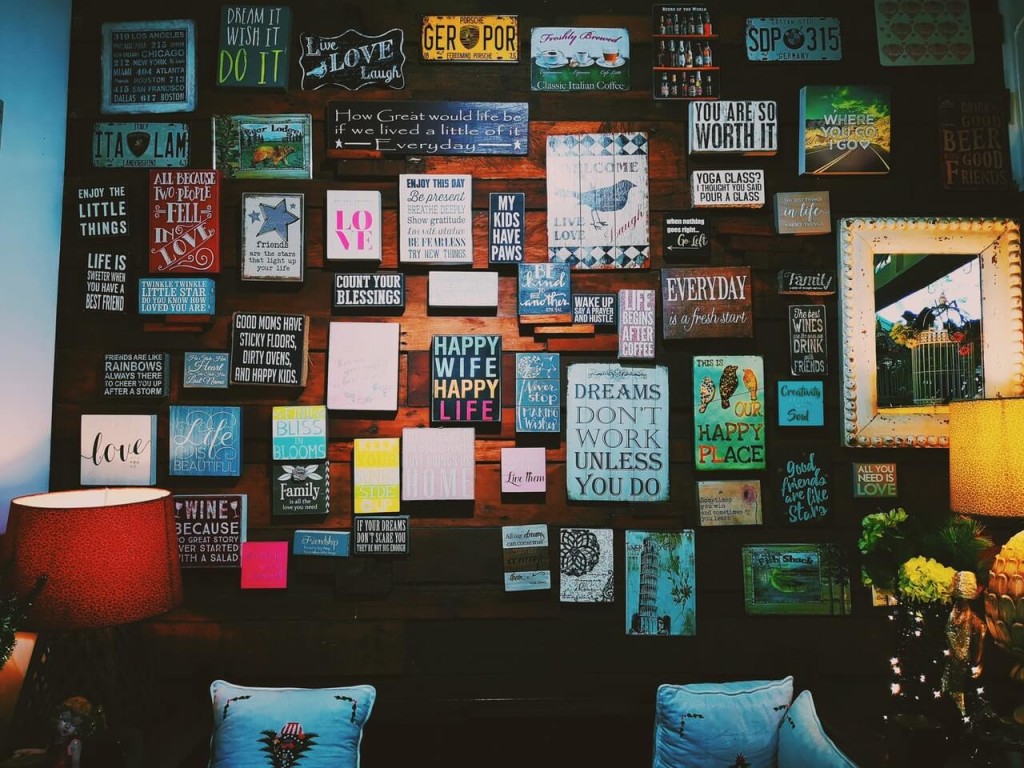 Photo by Mikechie Esparagoza of Pexels
Remember, we’re not using nails to hang your photos on the wall. Now you might be thinking, how on earth are you going to do that. You’d be surprised at the number of innovations made today. Here are some tools you can use to hang your photos on the wall without using nails:
A. Hanging strips
Hanging strips is one of the best ways to hang photo frames without the use of nails. Each hanging string corresponds to a certain weight, meaning you would need to know the weight of your frame to know how many strips to install.
In installing hanging strips, make sure to remove any element (hanging hardware, screws, fasteners, etc) on the back of the fame. Hanging strips must be installed on an even surface to make the photo even. Make sure that the back of the frame is clean so that the adhesive of the strips will stick.
And when placing the frame on the wall, press it for 30 seconds and leave it for an hour to dry.
B. Adhesive hooks or nails
Adhesive hooks or nails are essential tools for a condo dweller, especially when renting an apartment. Much like the hanging strips, the surface where the hooks or nails will be installed must be clean. After placing the adhesive on the wall, press against the wall for 30 seconds and wait an hour for it to dry before hanging up your pictures.
C. Reusable Adhesive Tapes
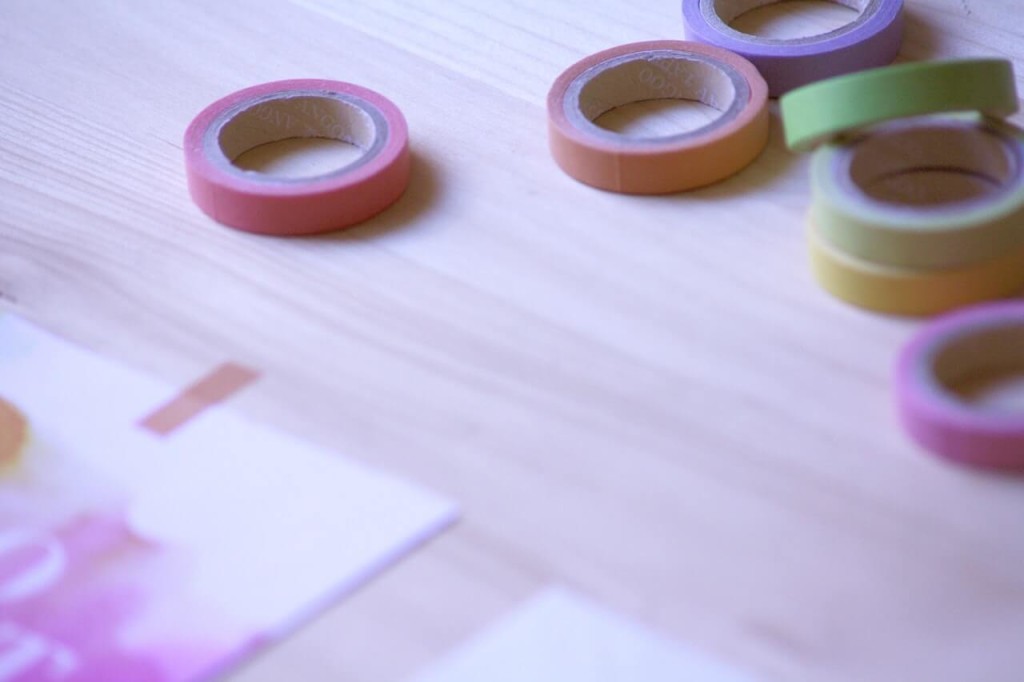 Photo by Pixabay of Pexels
Using reusable adhesives would be better if your photos are loose and not in a frame. These adhesives can only hold up objects that are no more than a pound. However, with a reusable adhesive, you can easily mount the photos to your wall by simply pressing the photos against it.
The three materials mentioned above are available in a local department store, hardware store, or online shops.
If you’re not a fan of picture frames at all but you still want a photo wall in your apartment, here are some other options you can consider
Option 1: Create a picture clothesline
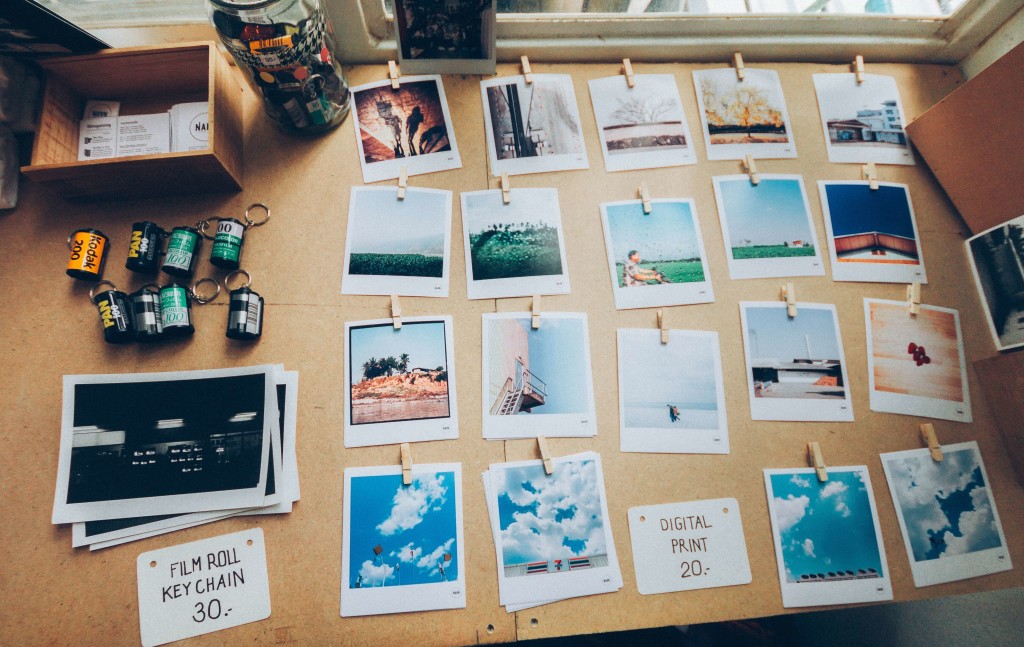 Photo by Soragrit Wongsa on Unsplash
This method would be better if you use wallet size photos or no larger than a B7 paper. Hang your sturdy string on the wall either by taping them or tying it over adhesive hooks you can easily install on your own. After this, you can now hang pictures with wooden clips.
DIY TIP: Instead of using a string, you can use single-colored string lights to hang your photos with. You’d be surprised at how pretty it would look especially at night while you’re watching your favorite show on Netflix.
Option 2: Tape your polaroids on the wall (using safe tape)
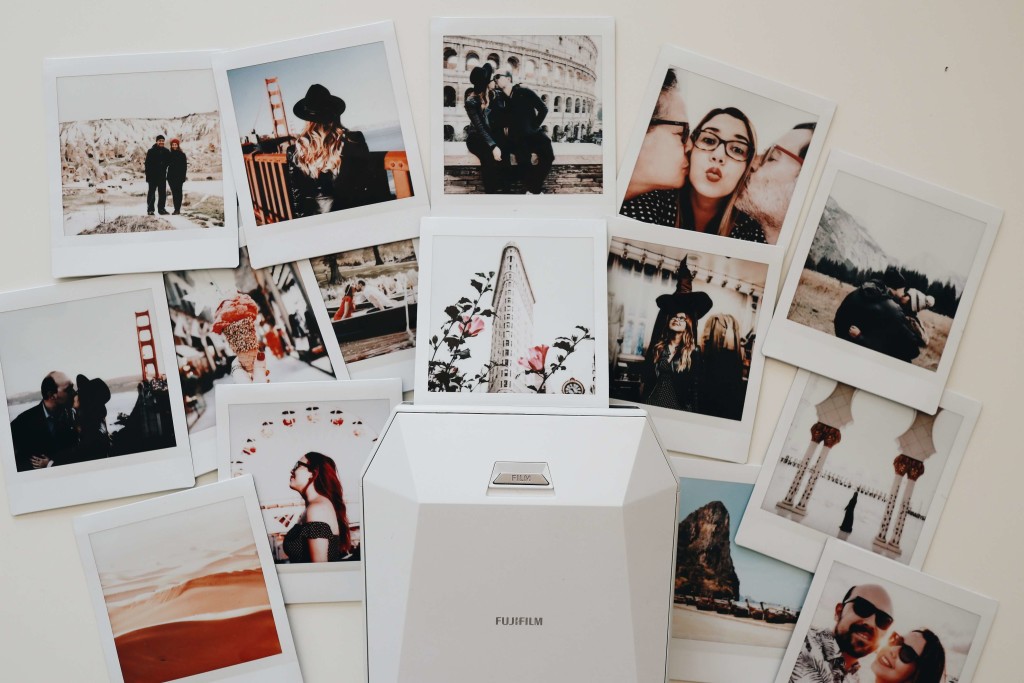 Photo by Juliana Malta on Unsplash
If you’re a huge fan of polaroids, then this method may actually steal your heart. The great thing about polaroid photos is that they carry an aesthetic that can fit anywhere, even on walls,
Using a safe kind of tape―one that doesn’t tamper with the paint―you can stick your photos directly to the wall, no picture frame needed! Printed photos can also be used for this method! You can go from a small wallet size photo to a B6.
DIY TIP: For a more personal touch, you can add support to the adhesive tapes by taping washi tapes on top of the photos to make it look like they were literally taped to the wall.
Option 3: Make use of office clips
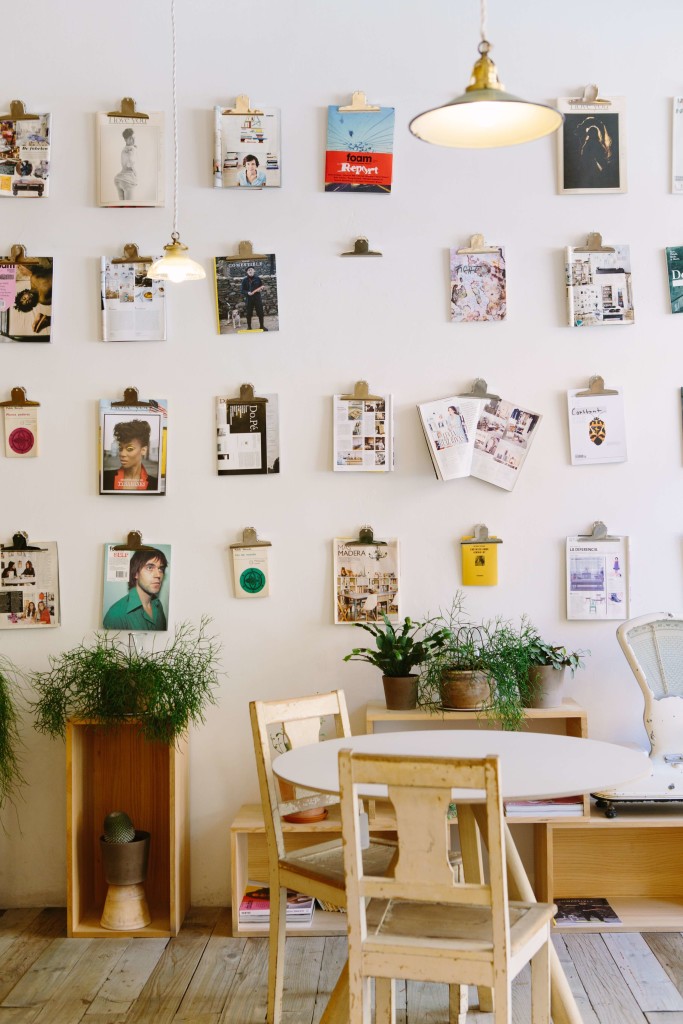 Photo by Jason Briscoe of Unsplash
Using those huge silver clips you can find in your office and a few hanging strips, you can stick them on your wall and clip your photos! With this method, you can use bigger photo sizes because these clips are more durable.
It would be easier to switch photos as well because they’re just clipped on! No more hassle of removing photos from their picture frames to replace them.
Personalizing your rented apartment with a photo wall doesn’t mean you’ll be boring holes in the wall and pissing alarming your landlord. Let your imagination and creativity flow free with the hacks we have shared above!