The new year signals fresh beginnings, and this is even truer now that you are also moving into a new condo. Make sure you make the most out of your condo living experience by sprucing up your interiors. There is nothing like interiors that match your personality and that you can proudly show off to your guests. Add DIY crafts to your 2018 new year’s resolution. The following ideas will help you get the ball rolling. They will also complement your budget living. Here are some DIY crafts you should try.
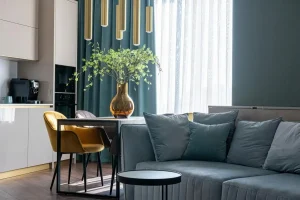
Roman shades
These Roman shades are ideal for those who would like to give their condo interiors a feminine touch. You can use your existing blinds and a fabric of your choice. Be ready with a pair of scissors, fabric glue, and measuring tape.
You can start by cutting your fabric 2 inches longer and wider than your blinds. Fold the extra two inches in to create helms. You can then glue or sew them in place. Spread out your blinds, and cut the ladder parts holding the blind slats in place. Make sure you do not cut the cord that runs through the slats. Look for the button that holds the thick cord in place. Remove it and pull the cord out. Remove all the slats and ladder pieces, so all that remains are the thick cord and top bar. Glue the slats down to the fabric with their curved side down. After which, you can put the cord back into the bottom hole, tie a knot to keep it in place, then add the button back on. Voila! You have stylish Roman shades to add character to your space.
 Photo courtesy of Cocoparisienne via Pixabay
Live-edge coffee table
Tree slices’ organic edges and patterns are great materials for statement furnitures. Create a live-edge table by looking for a slab that is just the right size for your living area. You can search for the right tabletop lumber by visiting furniture shops and trying your luck online. Simply type in “tree removal service,” “natural table,” “tree round,”“live edge,” and “tree slice,” and you will find just the right vendor. After you’ve purchased your preferred slab, go to a nearby furniture shop to have the kiln dried. This will help preserve the wood longer. You can also fill in holes and gaps by pouring epoxy into the cavities. Smooth the edges and seal the wood with high gloss polyurethane. For your table base, simply shop for hairpin legs online and put them in place using heavy-duty screws. You can have fun telling your friends how you’ve turned into a DIY pro. That’s some statement.
Campaign-Inspired Ikea Dresser
Campaign dressers are unbelievably expensive, yet they’re so stylish you’d want one of your own. You can skimp on the hefty price tag by going the DIY route. Simply buy a white dresser and sixteen pieces of 15-inch bar pulls. Go for gold-toned brass rods and braces. Now, simply screw them in place, and you have a Campaign-inspired dresser gracing your condo space. Your friends will be raving about it!
 Photo courtesy of Dimitrisvetsikas via Pixabay
Brass urchins
Made popular by designers like Jonathan Adler and Kelly Wearstler, brass urchins are part of a retro glam trend. You will see them everywhere, as they invade tabletops, desks, bookshelves, and coffee tables. You can score this trendy piece without spending too much. Simply create one at home! You will need 1 small square Sculpey oven-bake clay, 2 packs of mini wood dowels, and 1 can gold or brass spray paint.
Get started by preheating your oven to 275 degrees Fahrenheit. Slice the clay into two halves, then roll each half into a ball. Gently press down each ball so the bottom is flattened. Then insert the dowels ¼ inch into the balls until you have what looks like an urchin. After you’re done, place the pieces on a baking sheet covered with aluminum foil, then bake for an hour and 15 minutes. Once you’re done baking the pieces, allow them to cool down. For finishing touches, simply spray the paint all over. You now have a trendy signature piece of your own!
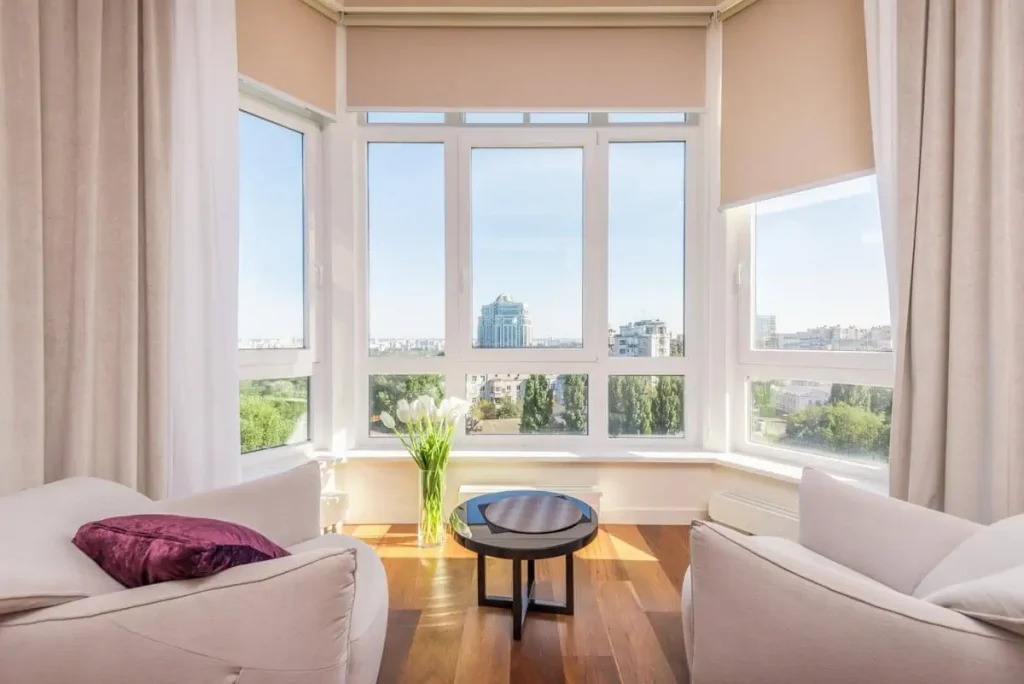
Bar tray
You can throw your own intimate cocktail parties at your condo by having a bar tray ready. You can create one using the following materials: a large lacquered rectangular tray, 2 brass campaign drawer pulls, 8 mini brass decorative corners, a gold metal tray stand, and a power drill. Now simply screw everything in place: the decorative corners into the tray’s four corners at the top and bottom, the drawer pulls at the middle of the tray’s frontage, then the tray stand at the tray’s bottom. You’ll have a classy bar tray you’ll enjoy showcasing to your condo guests.
Copper ladder
A DIY copper ladder is not only stylish, it is also great for organizing towels, throw blankets, and vintage fabrics. Old ladders always make for great decorative architectural pieces. And you can fashion one of your own. You will need the following materials: 10 1/2-inch copper tees, 4 1/2-inch copper caps, 2 1/2-inch diameter 10-foot copper plumbers pipe, and a pipe cutter. Assembly is pretty straightforward. Just make sure you add a dab of adhesive inside the copper caps and tees for increased structural strength
Gilded agate coasters
You will be amazed by how cheap geode slices paired with metallic nail polish can turn out looking expensive. To create your own gilded agate coasters, you will need three- to four-inch non-drilled agate slices and a gold nail polish. Make sure it’s a nice tone of warm gold, resembling a gold leaf and not glittery. Simply paint the edges, and you can enjoy your classy gilded coasters.
 Photo courtesy of La_Petite_Femme via Pixabay
Copper and leather hanging rack
We all need a place to dry our delicates. But you do not have to go the boring route. Create one that will spruce up your space. This DIY copper and leather hanging bar will be perfect for your condo. For this project, you will need (1) 24-inch piece of ¾-inch copper pipe, leather scraps, (2) ¾-inch copper caps, screws, and a grommet kit. Prepare two leather scraps of the same length, then fold into half. Punch four holes into the scraps, then set a grommet on each side. You can then use these leather scraps to mount the copper pipe into the top of your cabinet. You can screw through the grommets into the cabinet.
Lumbar pillow
Beyond just the added back support they provide, lumbar pillows make for a great bed highlight. You can create your own decorative lumbar pillow using a table runner. Just choose one with patterns and colors that match your bedroom decor. Stitch the runner together so it forms an elongated pillow case, leaving an opening to squeeze feathers in. Close the opening once your done by stitching it together. It’s that easy!
 Photo courtesy of Engin_Akyurt via Pixabay
Photo art
This decor is as customized as it gets. You get to turn your prized photos into a wall art. Simply go to a printing shop and have them create a 36-by-48-inch engineering print of your photo. Be ready with two 20-by-30-inch foam boards. Cut your photo into two parts, with a one-inch border to wrap around the boards. Use a double-sided tape to attach the photos on the boards. That’s it! You now have a living room highlight that reflects your personal style.
Enjoy the major perks of independent living, such as being able to decorate your condo interiors to your liking. Get your hands busy with these fun DIY projects!