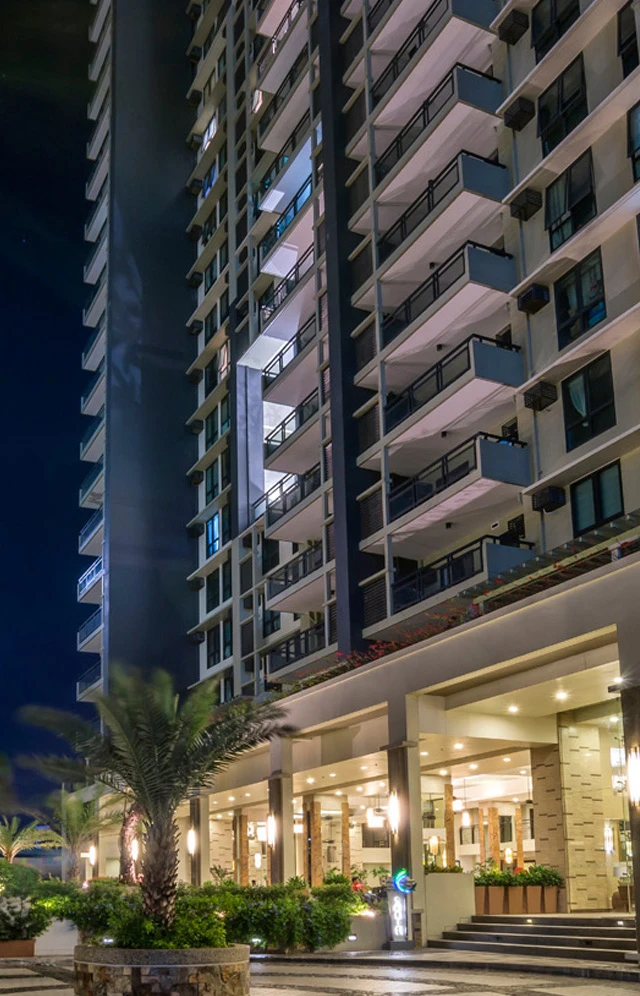
As a landlord, it’s always important to have a rental inspection checklist prepared because it helps you keep track of everything you should remember. Having one handy helps you speed up your tenant’s hectic move-in and move-out process. A home inspection checklist helps you and your tenant be accountable for things that happen during their tenancy, and it’ll naturally make the whole process less stressful for both parties.
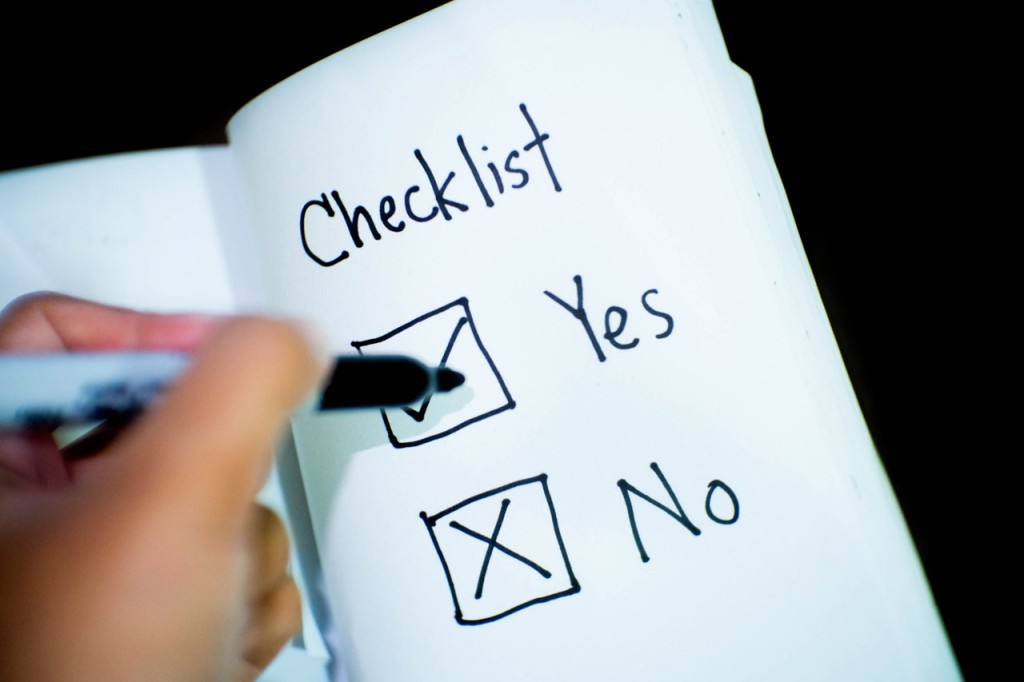 Photo courtesy of Pixabay via Pexels
What exactly do you need to keep track of on your to-do list as a landlord? What should you know to improve your property management as a landlord? How can you become a better landlord this 2020? Here’s a helpful list of things you should remember before, during, and after your tenant moves into your property:
Before your tenant moves in
1. Get your documents in order
Before your tenant even moves in, make sure you have all the necessary documents for the rental. Give the names and details of the future residents to the condo’s management and provide them a list of items your tenants will bring in. Prepare your rental inspection checklist for your apartment so that you know what to do when they move in.
Make sure your contract with the tenant is also ready. It should include, but not be limited to, the terms of payment, your responsibilities as landlord and tenant, the condo’s rules and regulations, and the terms of eviction. Double-check your contract and all other documents with a lawyer so that everything necessary is in place, and make sure to keep digital copies of each document in an online folder for that specific renter. This way, you’ll never lose your copies of these important documents.
2. Document the condition of the unit before they move in
 Photo courtesy of Markus Spiske via Pexels
Take clear pictures of the condition of your unit before the move-in. You should document the entryway, living room, bedroom, kitchen, dining area, and bathroom, everything else in between.
You can never take too many pictures - from the furniture to the floor tiles, make sure you have the clear images on record so that if anything happens during the tenancy, you can compare the damage and charge accordingly.
If you’re not confident in your skills, we have a quick guide to help you take better photos of your rental. Make sure to store these photos online with the rest of your files for your client so that you can track your property’s wear and tear from tenant to tenant.
3. Clean, clean, clean!
 Photo courtesy of Nathan Cowley via Pexels
You won’t just be dusting down the condo when you do your regular rental maintenance check.
Change or replace the air filters (like in the air-conditioners or range hoods), clean the refrigerator, repair wall cracks and tile flooring, consider a new paint job, check the heat, plumbing, and electrical wiring, unclog the drainage, repair or replace furniture, get new locks - these are just some of the things you need to do when you prepare your unit for rental. You should make sure everything’s in good shape so that your tenants will be safe during their tenancy.
4. Collect your initial fees
 Photo courtesy of Alexander Mils via Pexels
Collect the first month’s rent and the security deposit before they move in. This should be the right rental price that you set with them before, and the early collection should be in your contract.
Make sure to remind your client to pay this outstanding fee before they bring their stuff over. This is to ensure that your renters won’t bail on you last minute, and it locks in the security deposit for any repairs that you may need to do after their tenancy. If they do bail on you, at least you’re secured with the initial fee, and you can move on to another client.
5. Talk them through the contract
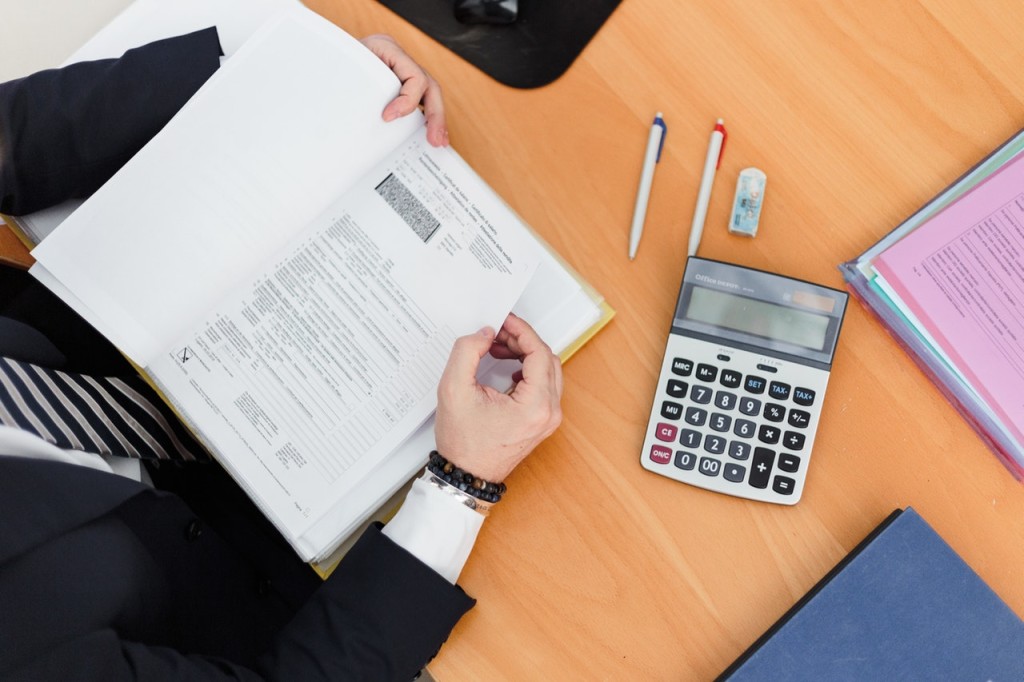 Photo courtesy of Oleg Magni via Pexels
Sit down with your future tenant and discuss the contract with them in person. Talk to them about your responsibilities as landlord and tenant, the condo’s rules, your payment scheme, even the legal terms of eviction.
Guide them through every provision and make sure that they understand everything so that there won’t be any confusion between the two of you that’ll result in lawsuits in the future. Once they’ve signed the contract, keep a digital copy for reference.
6. Have them do a unit check
Conduct a unit check so that you agree about the problems in the condo. If you can’t do the unit check with them in person, have them go through the unit to list any issues that they notice.
Make sure they check every place in the unit and deliver the report by the end of the day or as soon as possible. This is so that you’re both in agreement about the state of the property. Keep a copy of their rental inspection report to refer to after the tenancy.
During the lease
7. Schedule regular maintenance checks
Regularly schedule home inspections to avoid long-term damage to the unit. This will ultimately save you money on repairs and keep your tenants safe.
Remember that you can charge tenants for damage caused (e.g., holes in the drywall or stained carpets), but you can’t charge them for normal wear and tear (e.g., creaky closets or loose doorknobs).
Normal wear and tear happens with ordinary use, while actual damage occurs because of abuse or neglect. Refer to your home inspection checklist for your maintenance checks.
8. Be available for emergency calls
 Photo courtesy of Breakingpic via Pexels
This should already be a given, but make sure your client has your contact details in case of any emergencies. For regular work concerns, they should only contact you with your work details during the day.
Set that boundary with them early on in your relationship. But if a pipe breaks or a fire happens, you have to know first. Give your client an emergency number that he can call any time. It’s better to be safe than sorry when it comes to your property.
After they move out
9. Document the condition of the unit after move-out
 Photo courtesy of Hamann La via Pexels
Remember all the pictures you took before the move-in? It’s time to retake those pictures - except this time; you’ll have a reference point to the changes that happened during the tenancy.
The move-out images are just as crucial as the move-in pictures because they’ll help you determine if you need to repair anything or charge any damage to the renter’s security deposit during the property turnover.
Keep these new photos on file in case your renter asks for proof of damage to the condo unit during their stay. You can show them the before and after pictures so that you can use the security deposit reasonably.
10. Get your documents in order, again
 Photo courtesy of Burst via Pexels
There’ll always be documents to prepare and landlord and tenant guide to check. Make sure to secure any specific clearance documents with the building management for the move-out process. Double-check your contract (Remember the digital copy you kept?) with your tenant to ensure no provisions were broken during the tenancy. Use your property inspection checklist as your guide.
11. Clean up again!
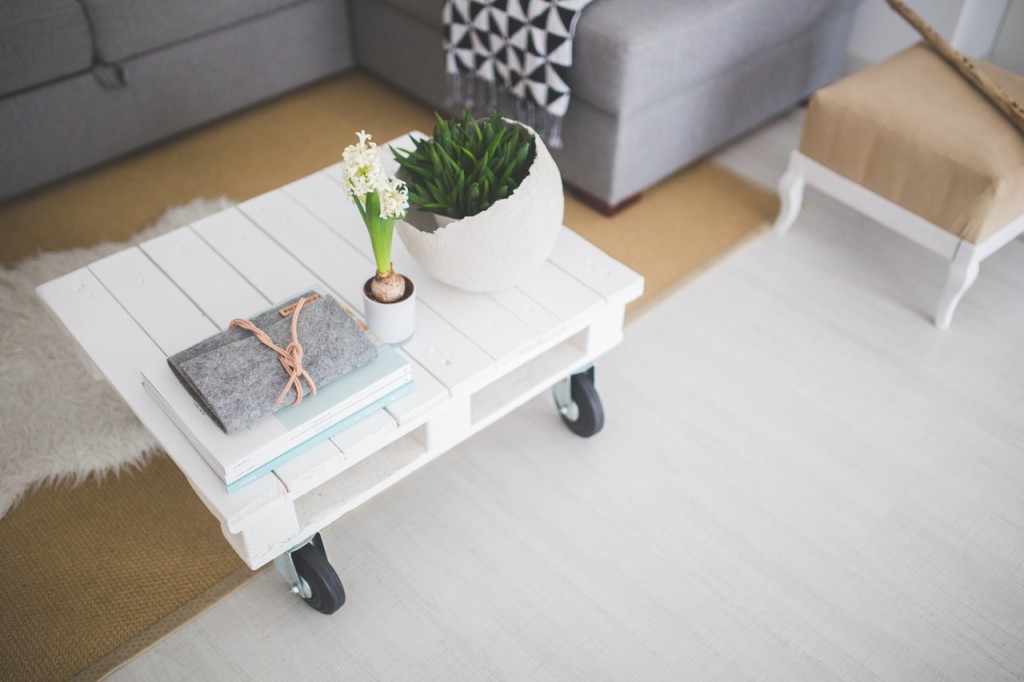 Photo courtesy of Kaboompics.com via Pexels
Just like the pre-move in, you should clean your condo up for the next batch of tenants. Fix furniture problems, check on the plumbing, repaint the walls - get your condo back into shape so that you can maintain the integrity of your condo and keep it safe for use in the long run.
Whether you’re a newbie condo landlord or a veteran at your job, you’re responsible for a lot of things when you’re renting out your property. When you have to keep track of a bunch of things, a rental inspection checklist is a gamechanger. It reminds you of the things you need to do as a responsible landlord.
If you want a little extra support with your job, DMCI Homes’ Leasing Service can easily help you out. With great service from their staff, you can become the best condo landlord for your clients. Be on top of your game, be stress-free, and never forget anything as a landlord this 2020.

